Preprocessing External Images
Gatsby allows powerful image processing features using the sharp library to automatically process images to be performant, with features like lazy-loading. That said, this only works if the image is a File node in the GraphQL layer.
If you want the same functionality for files that are remotely hosted online and not located in your Git repo, gatsby-source-filesystem has an API called createRemoteFileNode to solve this.
This guide will show you how to use the createRemoteFileNode process and get the same benefits of gatsby-transformer-sharp with externally sourced images.
Setup
A use case that this technique can support is if you want to create a featured image in a blog post with an image sourced from a URL out on the web, instead of a local file. This could be hosted somewhere like Imgur, S3, or anywhere on the internet.
Given a sample post:
You can use a custom frontmatter field for the URL of the featured image you want to pull down and use as part of the site.
By default, this is a string value as you haven’t told Gatsby yet how to interpret it. However, you can add some code into gatsby-node.js to modify it.
Gatsby Node
In your gatsby-node.js file, you can do some processing to create file nodes for the custom featuredImgUrl Frontmatter field.
As you may not want to require all blog posts to have a featured image, you can define some GraphQL types with Gatsby’s Schema Customization API to provide flexibility and control with your queries. Explicitly defining these types allows you to return null when a blog post does not contain a featured image in its frontmatter data. Even if there are no blog posts with these data fields, the type will still exist in the schema and can be used in your code.
Going step by step through the code:
- Define some types for
MarkdownRemarkusing the Schema Customization API. ForfeaturedImg, use thefromargument to point thelinkextension to the correct field name (thecreateNodeFieldextends the node with afieldskey), more details about foreign-key fields here. Defining a field for alternative text asfeaturedImgAltcan also improve accessibility, in addition to providing context for the image if it fails to load. - Create an
onCreateNodefunction so you can watch for whenMarkdownRemarknodes are made. - Use
createRemoteFileNodeby passing in the various required fields and get a reference to the file afterwards. - If the Node is created, extend the node with a
localFilefield. To do this, pass theidas the reference. Do note, this new node is now attached to the root of themarkdownRemarknode instead of thefrontmatterfield asfields.
And since it is a File Node, gatsby-transformer-sharp will pick it up and create a childImageSharp child Node inside this newly created Node.
Usage in templates
Now that the images are being generated and available in GraphQL, you can use them in action.
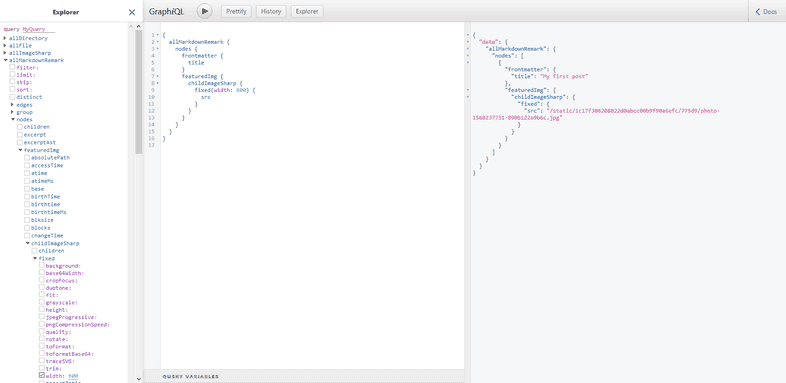
If you open GraphiQL and write a query on the Markdown Nodes, you can see a new Node attached to any MarkdownRemark Node that had a featured image:
You can then use gatsby-transformer-sharp & gatsby-plugin-image to fill in the query for a fixed image here. For more information on transforming images using parameters and fragments, check out the “Using Gatsby Plugin Image” guide.
And finally, you can update the template for this blog post to include a featured image node. Note the alt text still comes from the post frontmatter. This template is based on the one in the Programmatically create pages from data section of the Gatsby Tutorial.
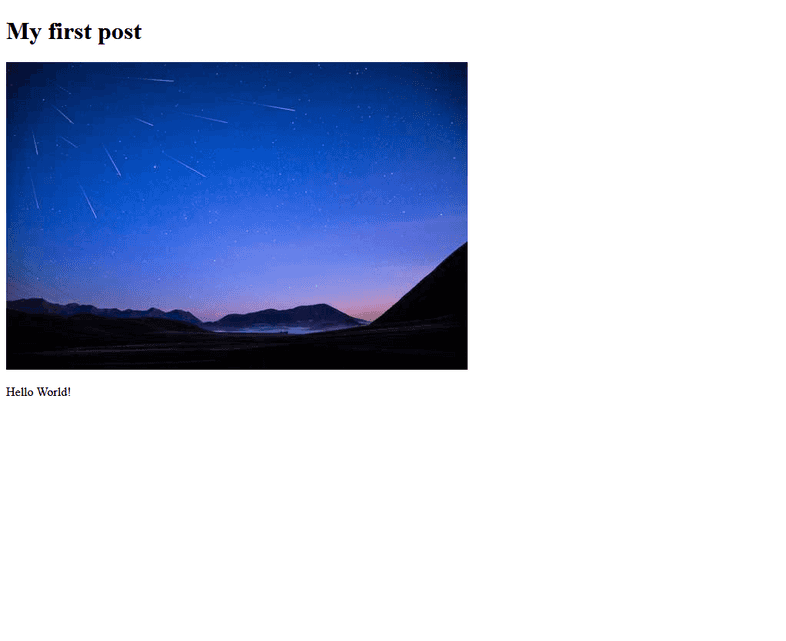
And if you run gatsby develop, you’ll see the remote file locally now:

